
Configure Azure application
Start configuration
Before you get started, you first need a Microsoft account. There is no cost to register an Azure Active Directory app.
Sign in to Azure Portal using your Microsoft account After logging in, the page you see should look like this:
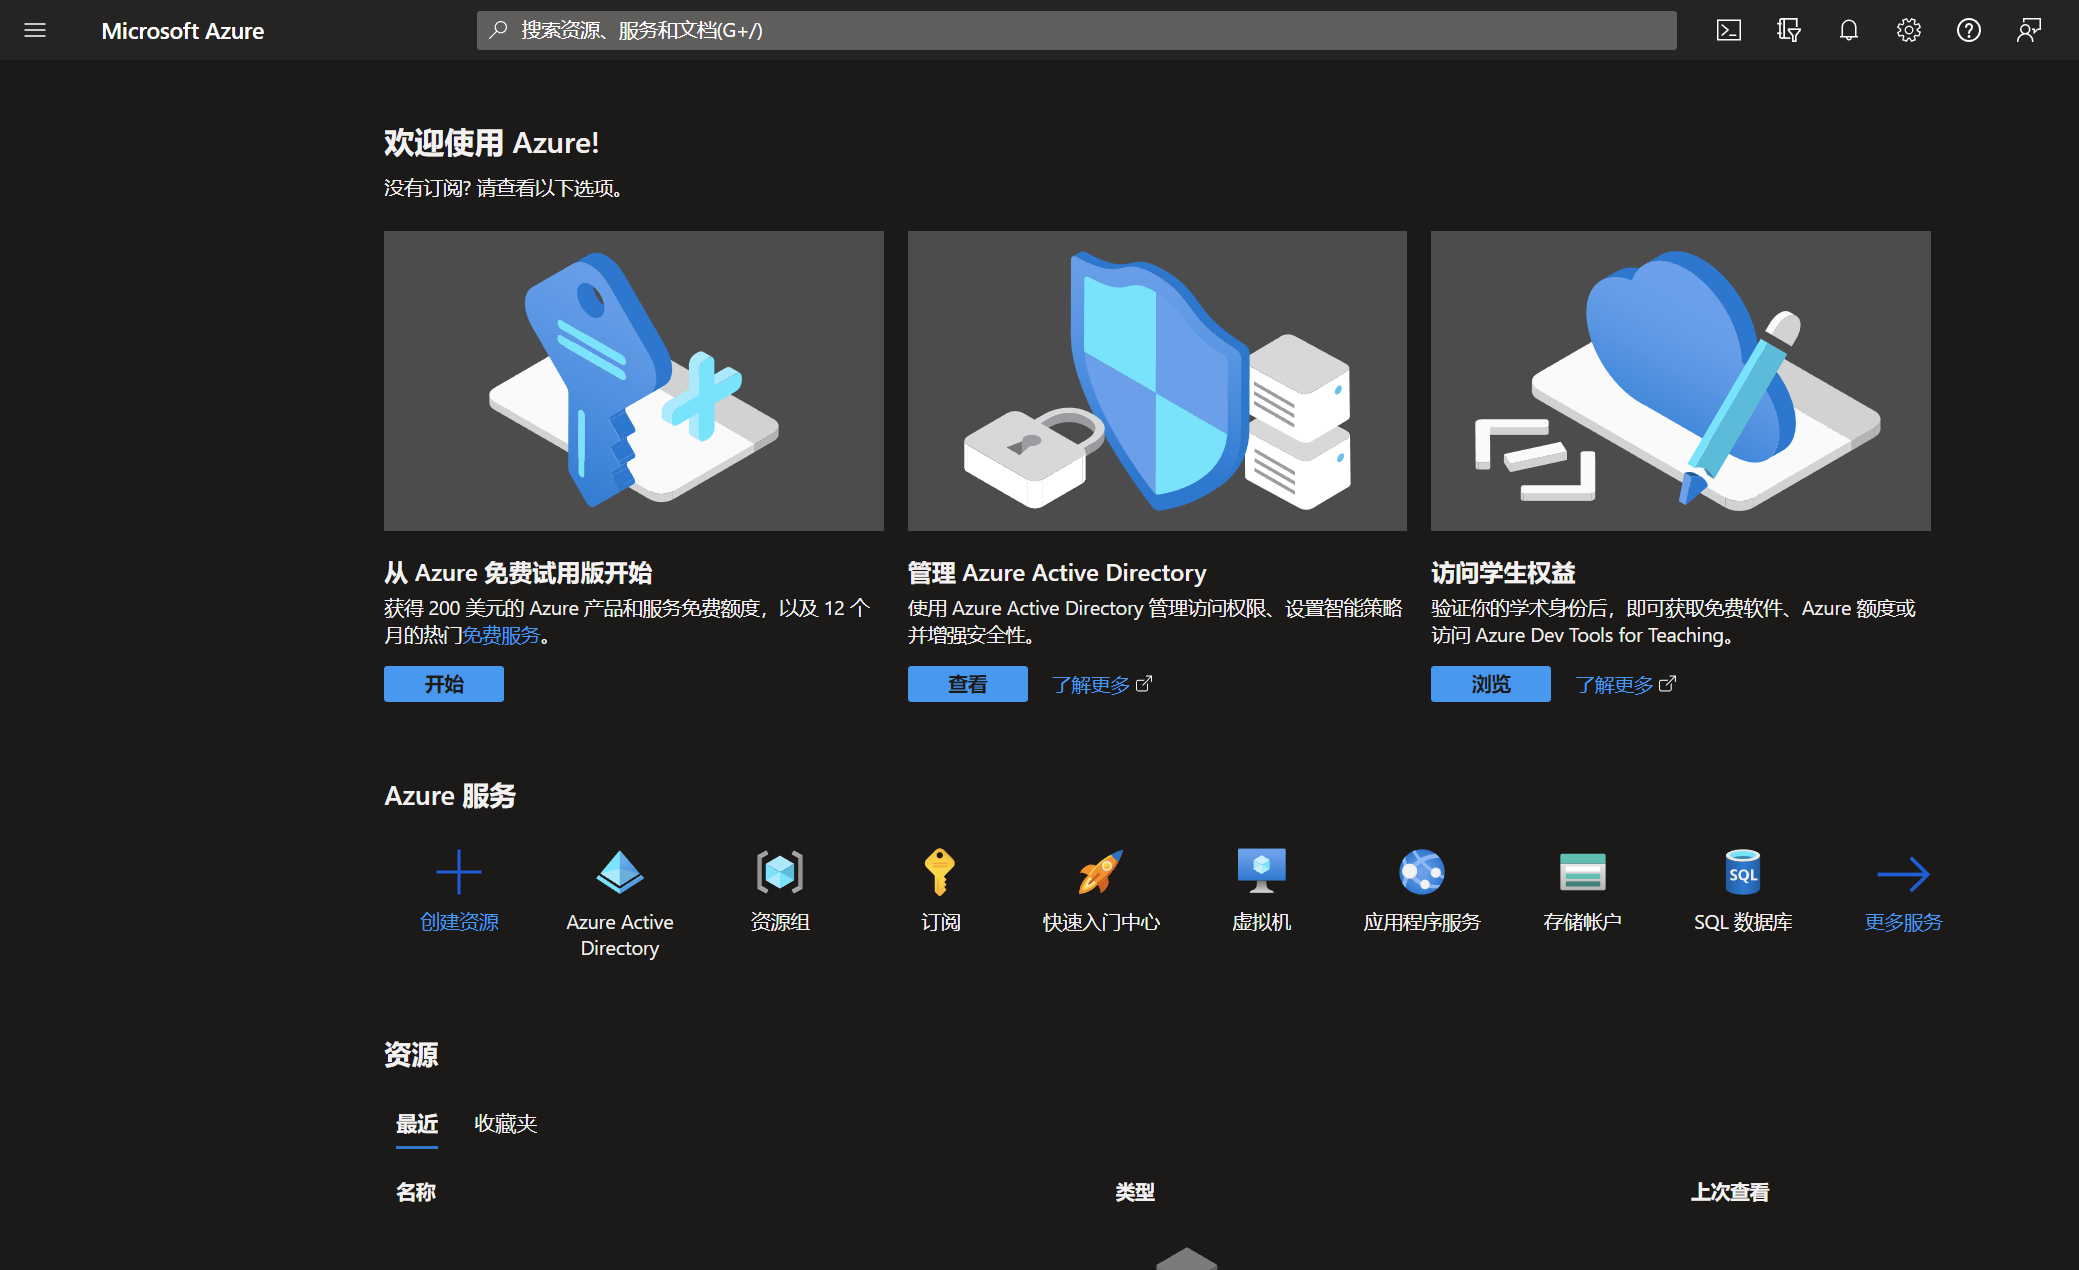
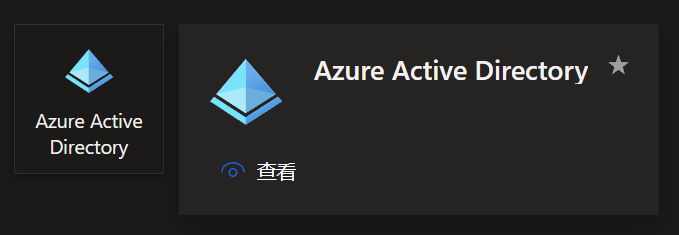
Click Azure Active Directory under Azure Services
You will see a page similar to the following
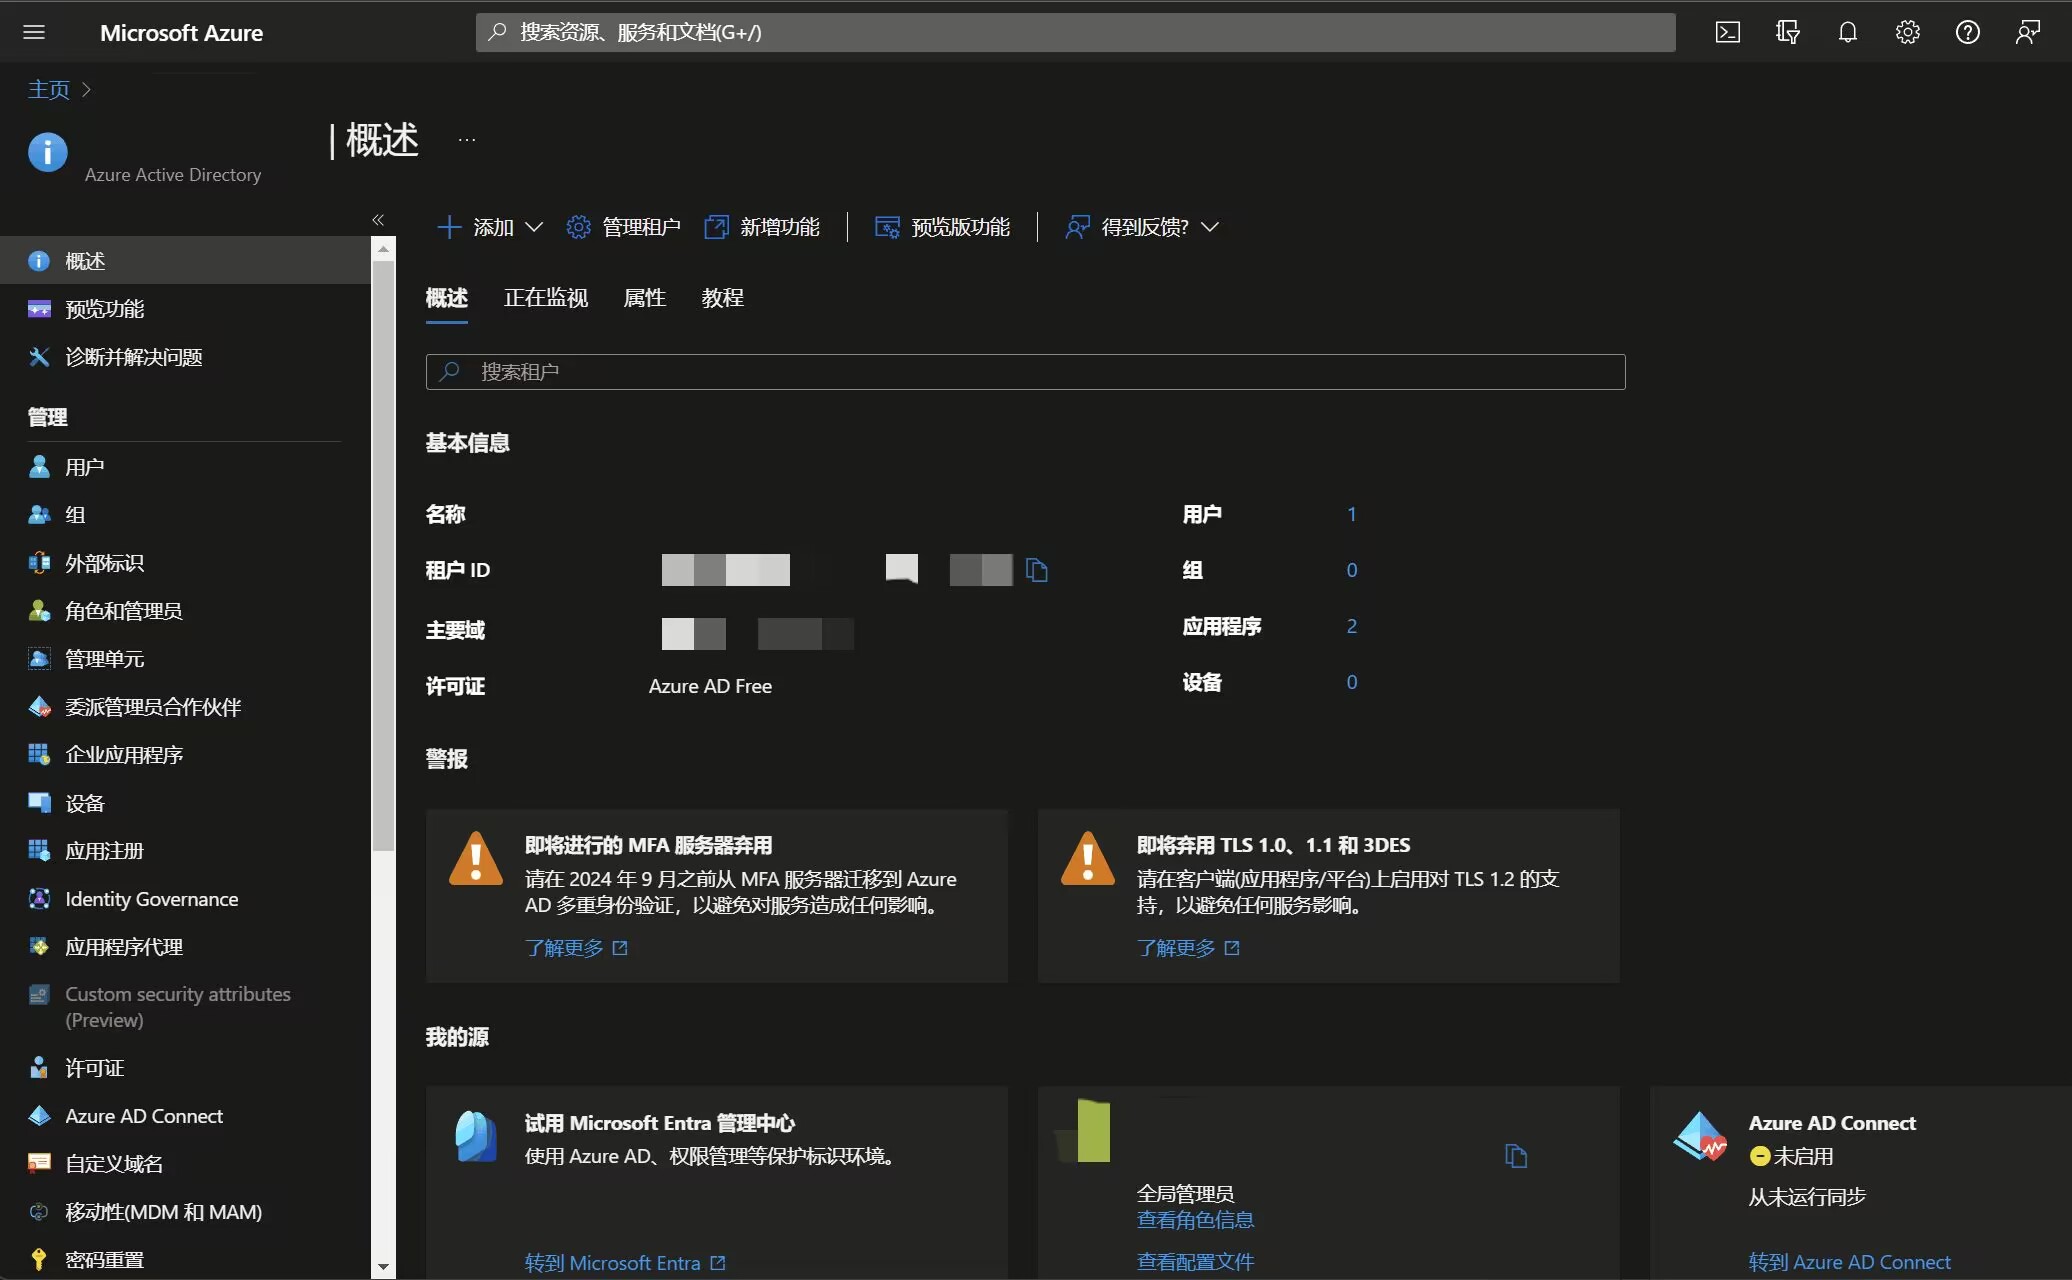
Then click App Registration on the left tool bar:

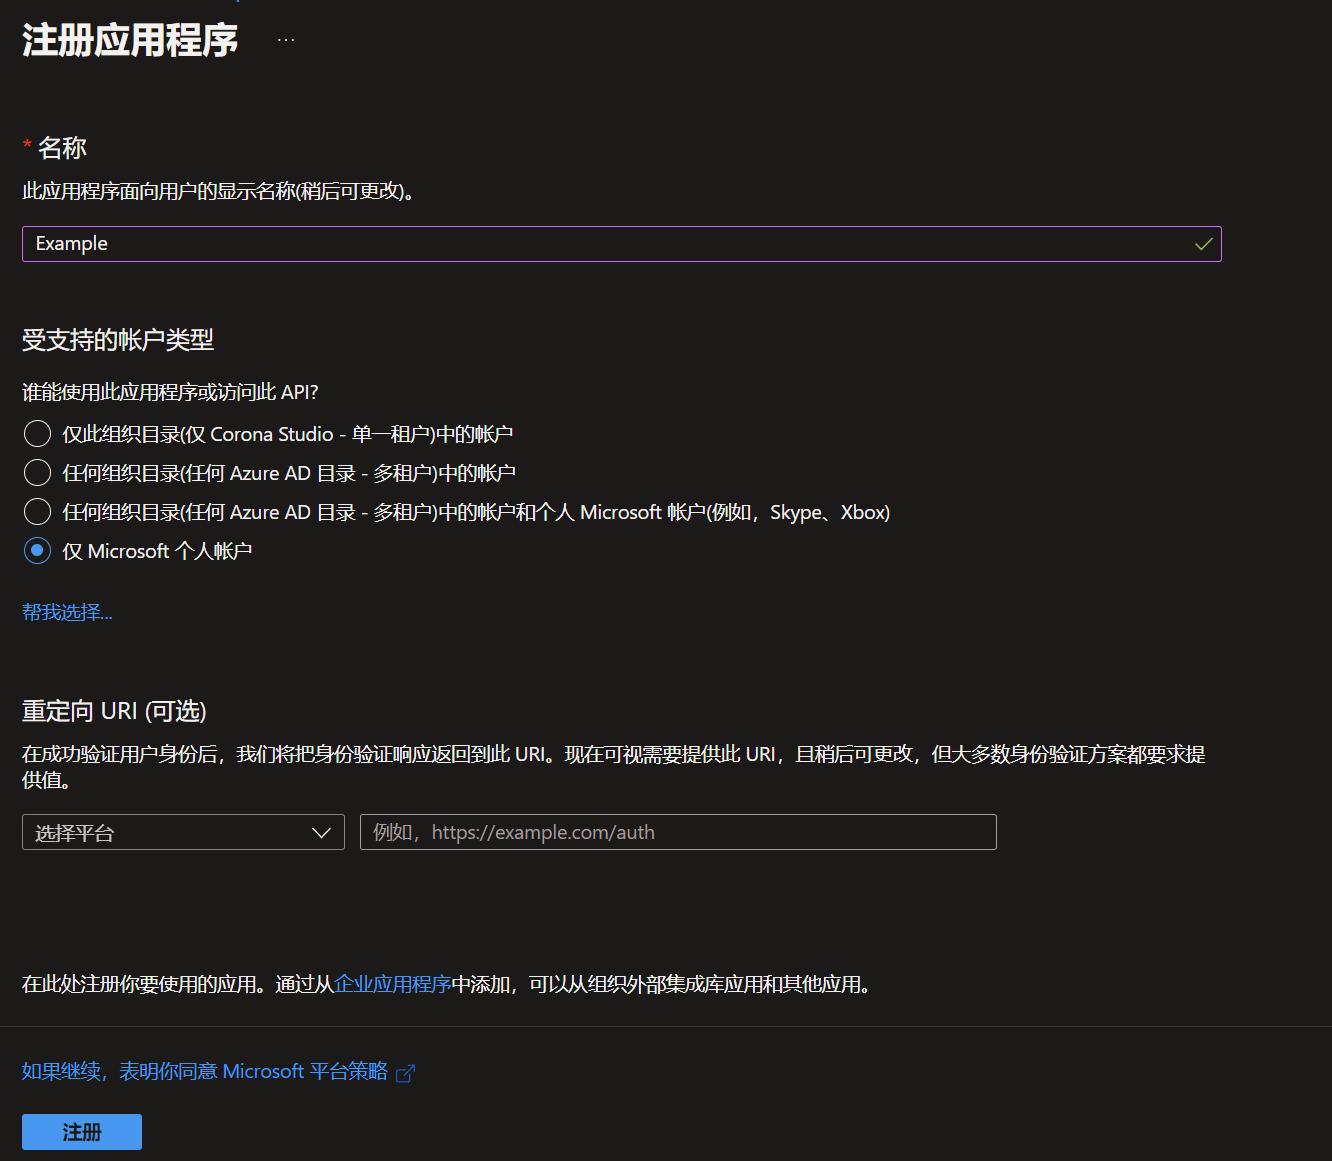
Click New Registration on the top toolbar and fill in the name of the application. And select Microsoft Personal Account Only in Supported Account Types. Since we are not using URI callback based authentication. Therefore, you do not need to fill in the Redirect URI below the form.
WARNING
Please check the information in the form carefully, otherwise unexpected problems may occur in subsequent steps.
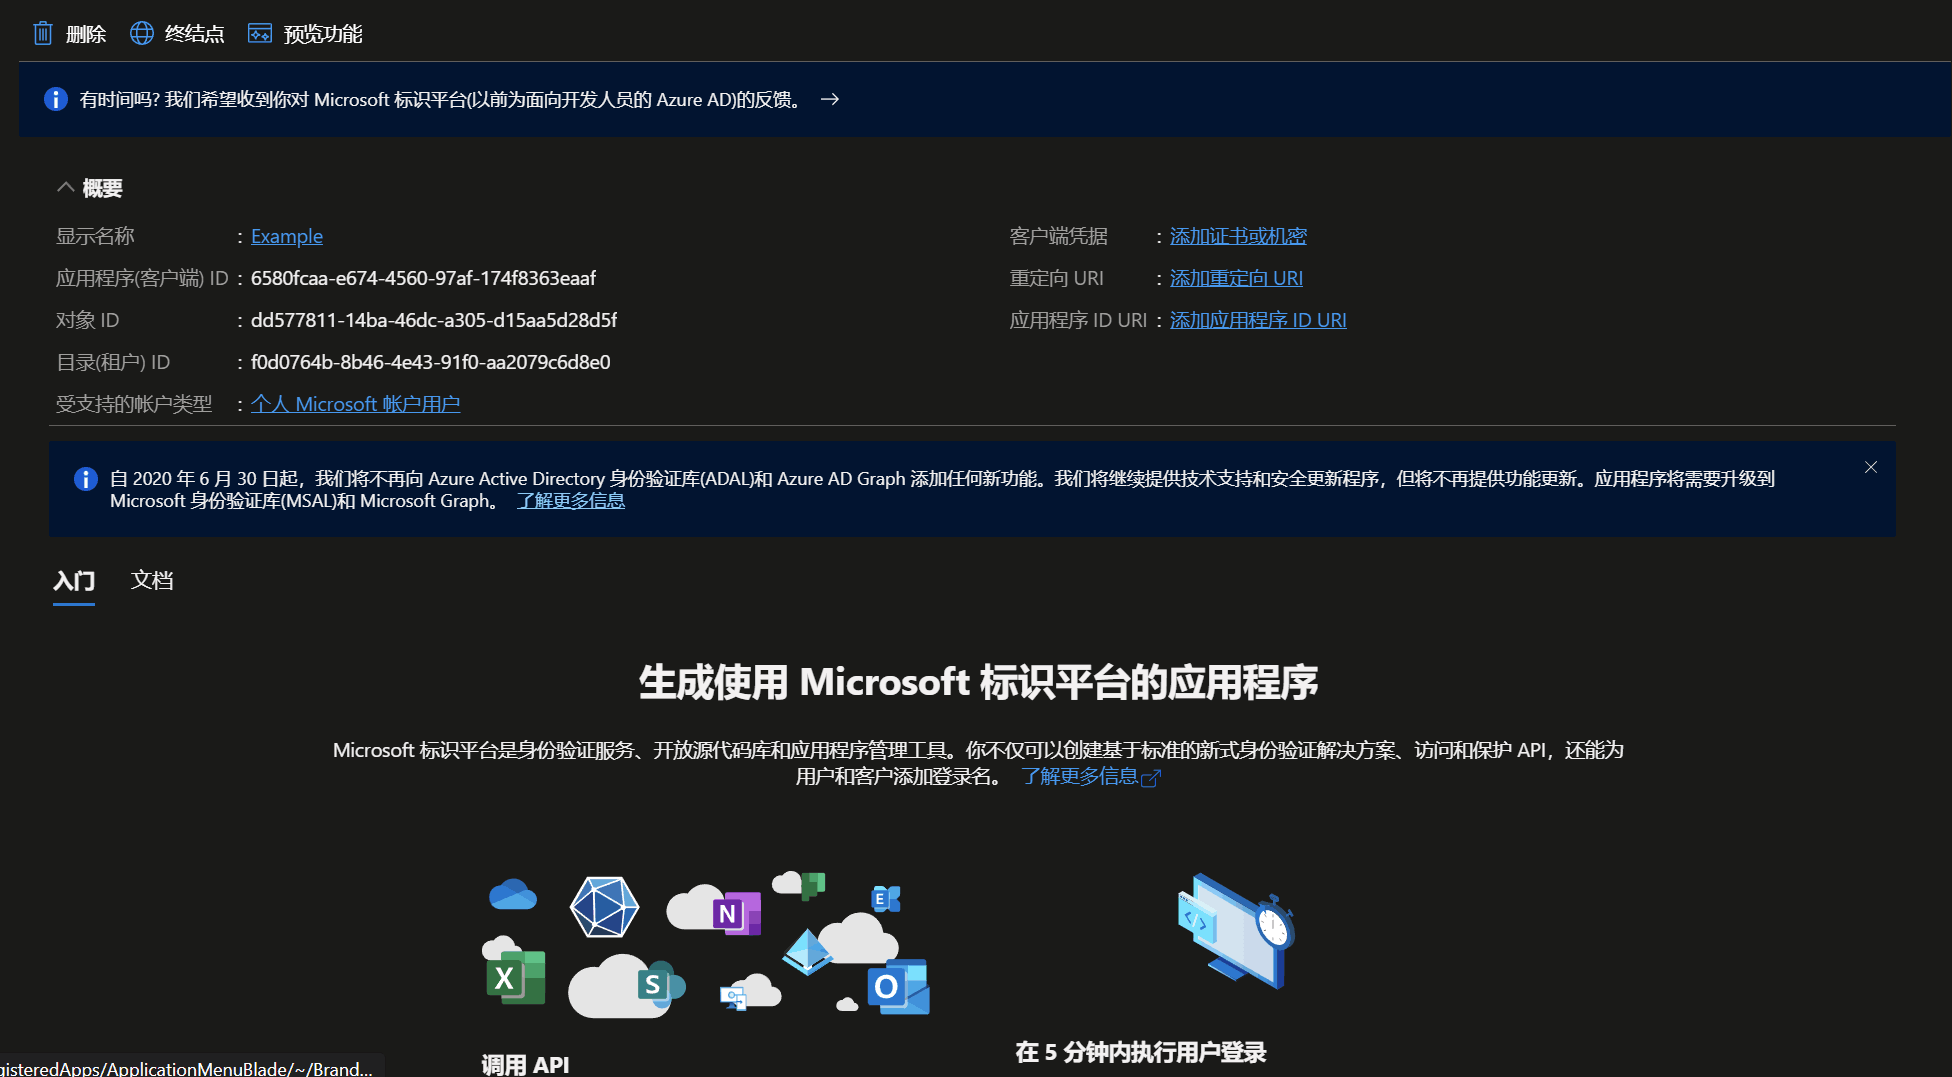
After clicking Create, wait for Azure AD to finish creating the app. Once created, the webpage will redirect you to the app's details page:
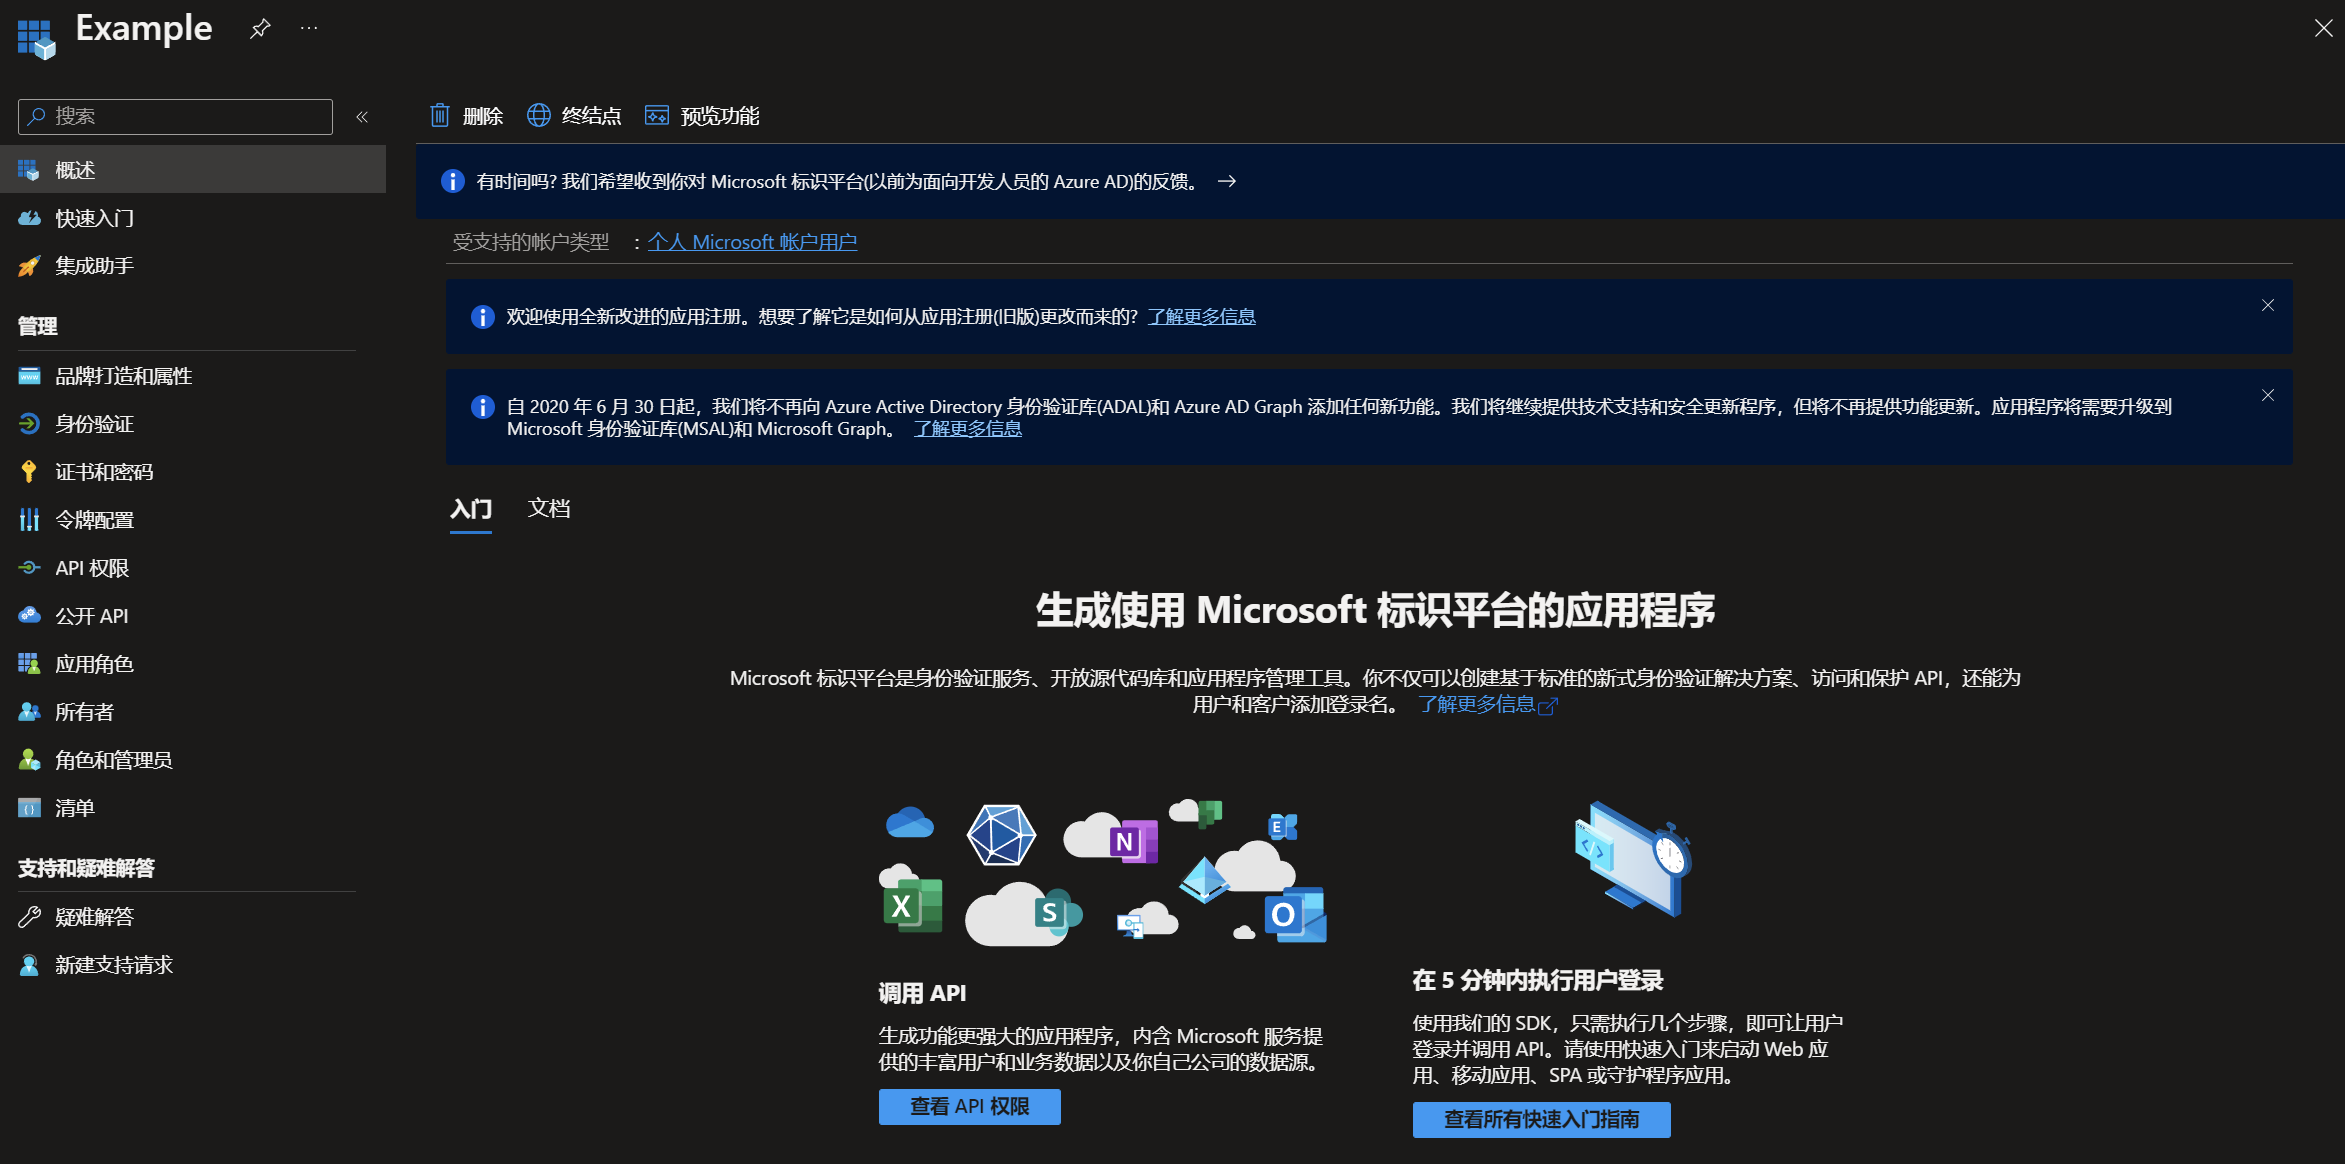
Then click Authentication in the left column:

Then find the Advanced Settings section on the right and make sure that Advanced SDK Support and Allow Public Client Flow in the section are turned on. If they are not turned on, turn them on manually.
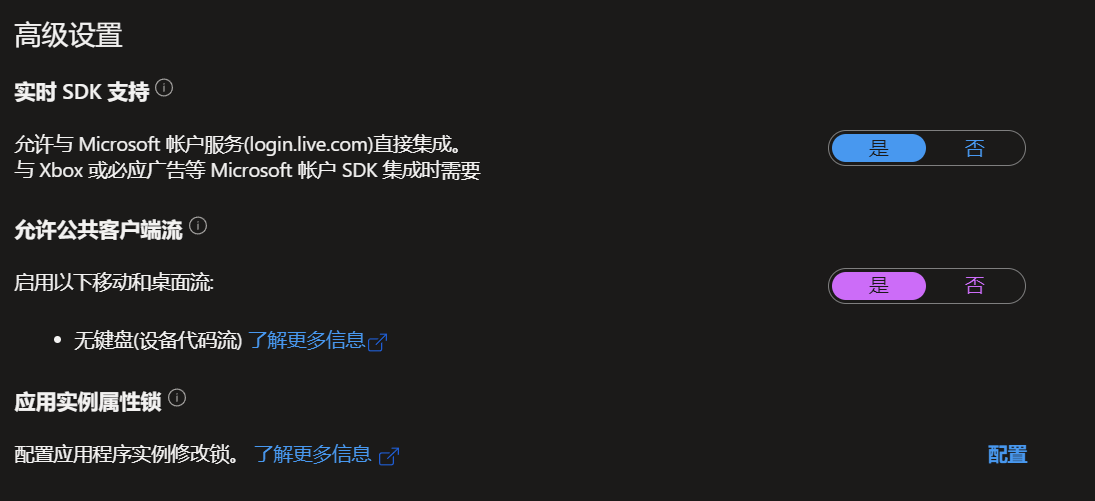
Then click the save button below and wait for the saving to complete.
View Client ID
Congratulations! You have completed the application registration with Azure. Next, you only need to go to the Overview page to view the Client ID of the application. Click the Overview button in the left column to view the basic information of the application:

On the right you will see the details of your application, find the Application (Client) ID in Summary, This ID will be the Client ID you need to use during the Microsoft Authenticator Configuration phase.